Back to Blog
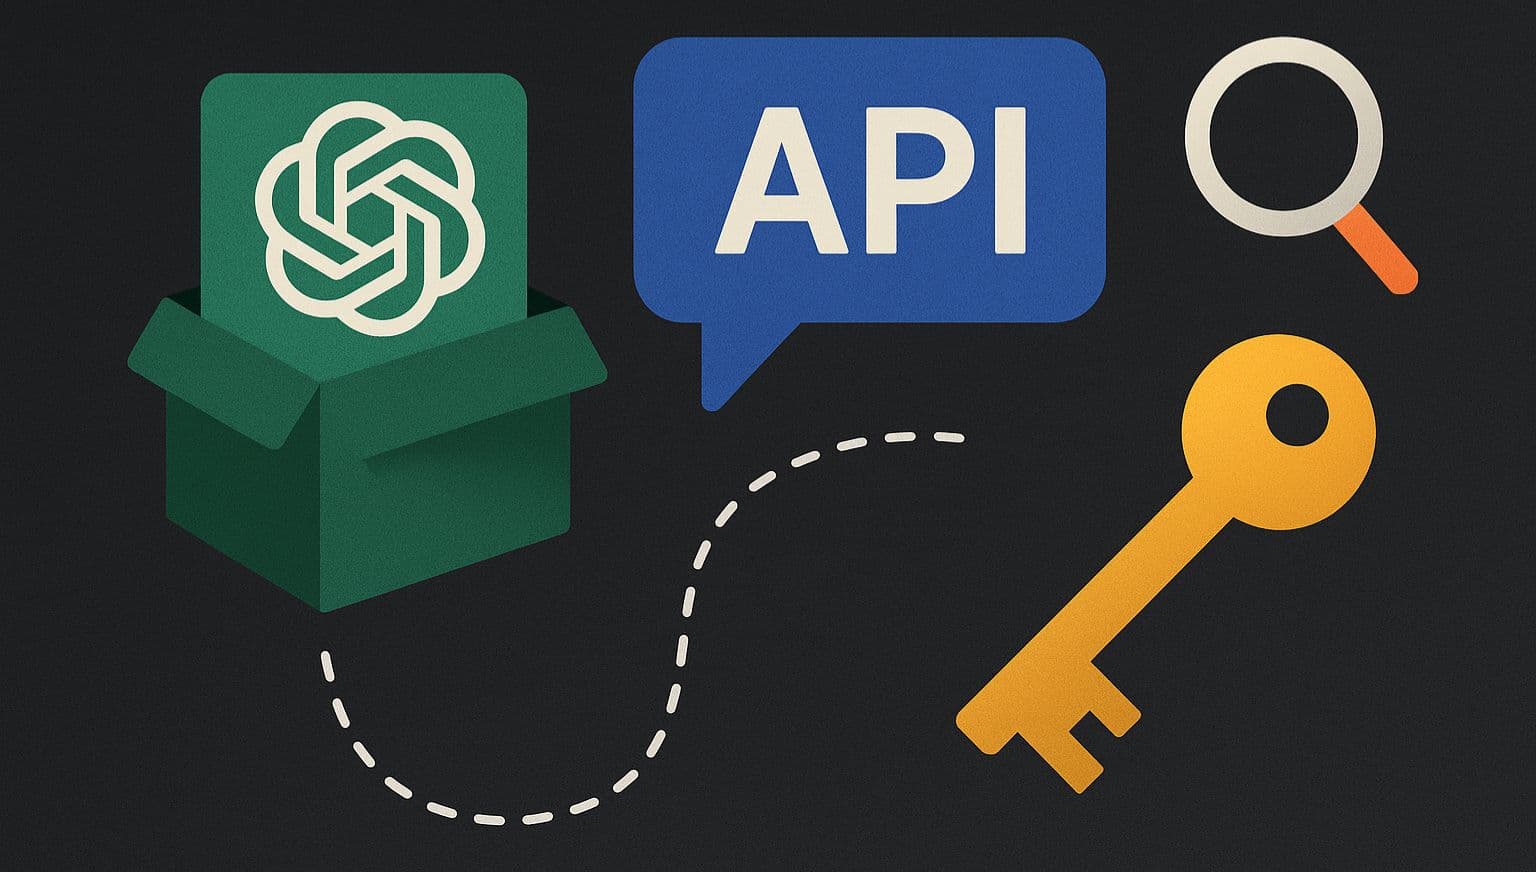
How to Get Your OpenAI API Key (Step-by-Step Guide)
- #openai
- #api
- #ai
- #developer
- #getting-started
Cynthia Emerenini
Is it Really "Free"?
Let's clear this up: while you can create an OpenAI API key for free, using the API itself usually costs money. Think of it like a utility bill – you get the connection for free, but you pay for what you use. OpenAI charges based on "tokens" (pieces of text) your applications send and receive. Sometimes, OpenAI offers promotional credits for new users, which are great for trying things out. Always check their official platform for the latest offers.
Why Get an API Key?
An OpenAI API key lets you connect powerful AI models like GPT-4o and GPT-3.5 Turbo to your own apps and projects. This opens up amazing possibilities:
- Build smart chatbots: Create AI that can chat, answer questions, or generate content.
- Automate writing: Quickly create articles, marketing text, or social media posts.
- Summarize text: Get quick summaries of long documents.
- Translate languages: Break down language barriers.
- Create new AI tools: Your imagination is the only limit!
Your API key is your secure pass to use OpenAI's AI services.
Getting Your API Key: Step-by-Step
Ready to get started? Here's how to get your OpenAI API key:
Step 1: Create an OpenAI Account
Go to platform.openai.com. Sign up or log in using your email, Google, Apple or Microsoft account.

Step 2: Find the API Keys Section
Once logged in, for quicker navigation, click the search field on the sidebar and enter "API keys", the first result provides the link to the API keys section under Settings. Clicking on it will take you directly to a new page where you can view and manage all your API keys.

Step 3: Generate Your Key
Click 'Create new secret key'. You can name your key (e.g., 'MyChatbotKey') for better organization. Proceed to select a project from the Project dropdown. Then, click 'Create secret key'.

Step 4: Save Your Key Securely (Very Important!)
OpenAI shows your key only once. Copy it immediately to a secure place like a password manager. Never share it publicly or save it in plain text files! After copying, click 'Done'.

Understanding Costs and Usage
OpenAI's pricing is pay-as-you-go, based on tokens. Different models have different costs, and input/output tokens might be priced differently.
Monitoring Your Usage
Use the 'Usage' section in your OpenAI dashboard to track your token consumption. You can also set 'soft' (notification) and 'hard' (stop API requests) spending limits to control costs.

Adding Payment
To use the API beyond any free credits, add a payment method in the 'Billing' section of your account.

Key Best Practices
- Keep Your Key Secret: Store it securely, not directly in your code.
- Handle Rate Limits: Design your apps to manage request limits.
- Optimize Token Use: Be mindful of prompt and response lengths to save costs.
- Choose the Right Model: Use simpler models for simpler tasks to save money.
- Monitor Spending: Regularly check your usage dashboard.
Conclusion
Getting an OpenAI API key is your first step to building amazing AI-powered tools. By understanding how it works and managing your usage, you're ready to explore the world of AI.
Happy building!